How to make a launch video with Claude Code or Cursor, from a real reference
By Yannis Coulibaly · November 8, 2026

The short answer
Pick a real launch scene, give your agent its measured timing, and let it rebuild the motion with your own product. With the Launchscene MCP connected, three calls do most of the work: search_scenes, reference_brief and export_recipe. Without an account, the copy button on any film page gives the same plan as one prompt.
Coding agents can now write a whole motion piece in Remotion or HyperFrames. What they lack is taste in timing: how long a headline holds, when the cursor clicks, how a screen enters. That is exactly what a real launch film can teach them. This guide shows the full loop, from a reference to a rendered MP4 that belongs to your product.
1. Connect the library to your agent
In Claude Code, one command adds the Launchscene MCP server. You sign in with a Launchscene account the first time; the MCP is free during the beta.
claude mcp add --transport http launchscene https://launchscene.app/api/mcpIn Cursor or VS Code, use the one-click buttons on the MCP page, or add the same URL to your MCP settings. No MCP at all? Skip to step 5: every film page has a button that copies its full plan as a single prompt, no account needed.
2. Find a reference in plain words
Describe the shot you need, not the brand you admire. The agent gets each result as an image it can look at, with the brand, the role of the scene and its timing.
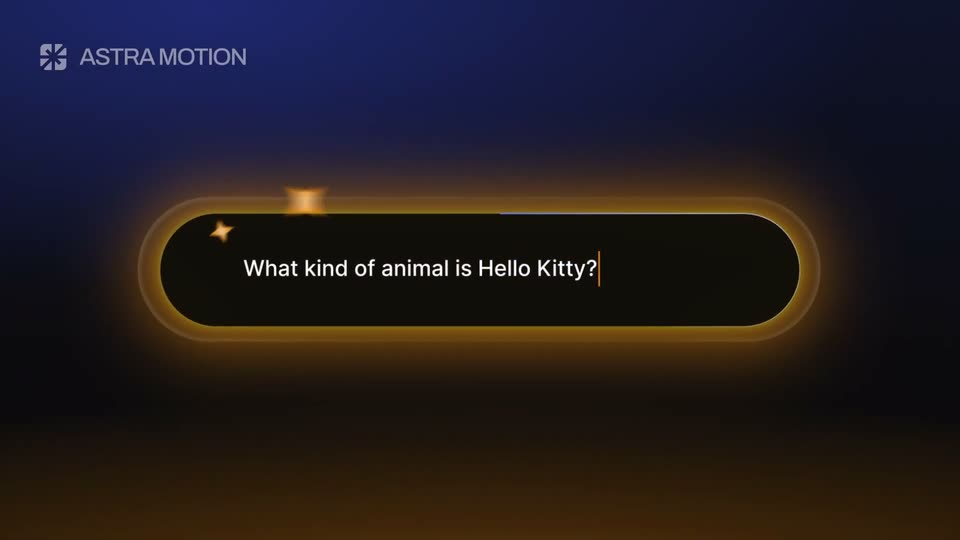
Find launch-video scenes where a cursor clicks Export and the file appears.
Show me three that look different from each other.
Ask for contrasting results, then pick one. Copying a single film too closely is how launch videos end up looking alike.
3. Turn the scene into frame numbers
Ask for a reference brief at your frame rate. The reference_brief tool returns when each piece of text enters, lands and stays readable, the camera moves and the audio cues, all as frame numbers, plus a REFERENCE.md your agent saves next to the code.
Turn the first scene into a frame-numbered reference brief for a 30 fps Remotion build.4. Get starter code, then replace everything that is not yours
The export_recipe tool writes a starter composition for Remotion or HyperFrames from the measured timing, with your own headline in place of the original. From there, the agent swaps in your logo, screenshots, fonts and music. The reference gives the rhythm; the brand, words and assets must be yours. Launchscene never hands out source videos, music, fonts or logos.
5. No MCP? Copy the plan from the film page
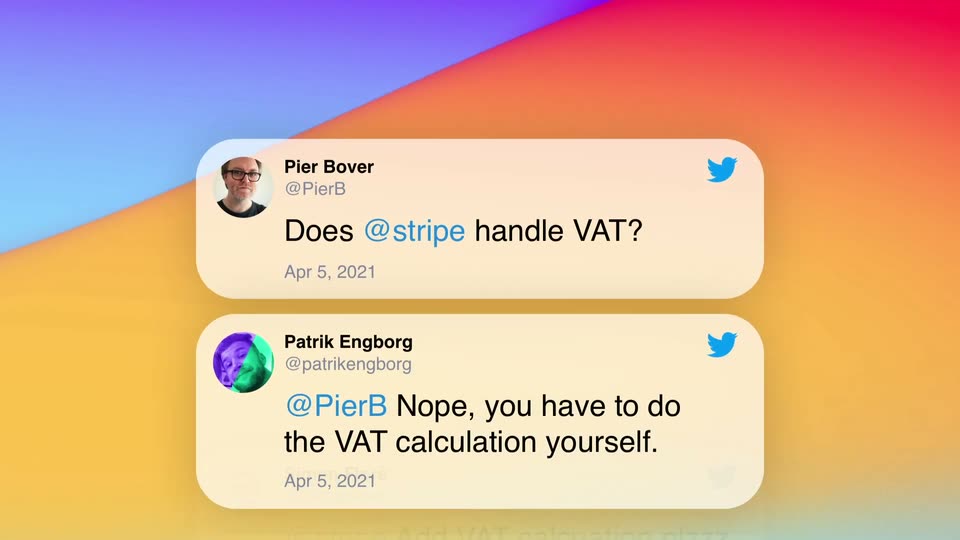
Open any film, for example Stripe Tax, and use the copy button. You get the whole film as one prompt: its structure, timing and what each scene does. Paste it into Claude Code, Codex or Cursor with your assets. The films on the examples page were made this way, with Launchscene's own assets in place of the reference brand.
6. Check before you ship
Ask the agent to run readability_check on every line of text, render stills at the frames that matter, and fix what is too fast to read. The agent skills package this loop: launchscene-reference writes the brief, launchscene-timing-check reviews the text, launchscene-check-render inspects the final MP4.
What to expect
The first render is rarely the last. In our own tests, films took one to three complete renders before the timing and framing held up. Measured values come with their limits: an easing is a label, not the original keyframes, and a text box is one observation, not a full trajectory. Treat the reference as a timing guide, then make it yours.